


Learning how to edit travel photos like a professional saved my memories from looking like dull, muddy smartphone snapshots. You just hauled your camera across three different continents, battled terrible midday lighting, and returned home with thousands of unpolished raw files. Do not panic. Solid color work and smart light adjustments quickly turn flat images into stunning, lifelike scenes without making them look fake.
Cull Ruthlessly Before Touching a Single Slider
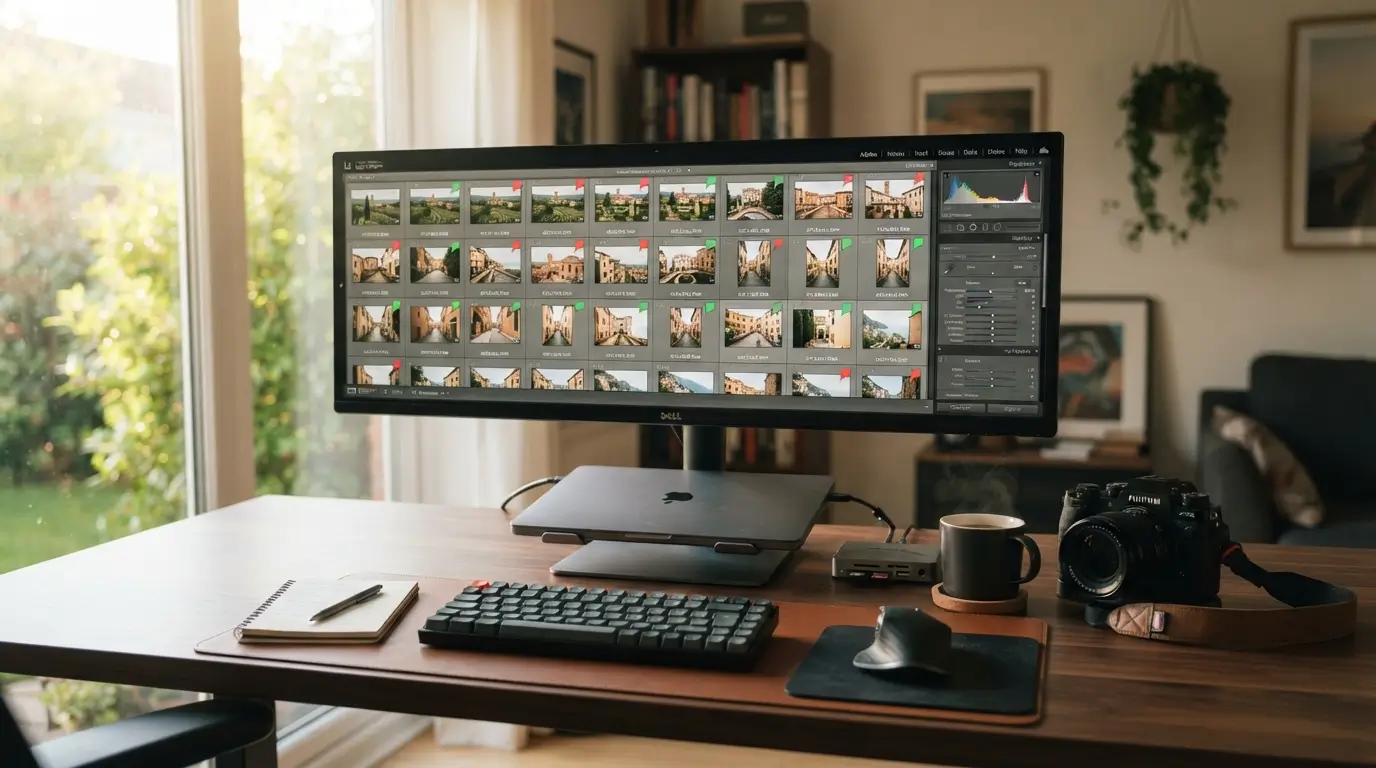
Start by cutting the dead weight before you open the Develop panel. I used to dump three thousand photos from a trip to Italy straight into my library and try to tweak every single frame. That habit caused total burnout. Professional photographers keep only the top five percent of what they shoot.
Set up a rapid culling workflow in Adobe Lightroom or Capture One. Tap the reject key to toss missed focus shots, duplicate angles, and accidental photos of your feet. Turn on auto-advance so your screen immediately jumps to the next frame as soon as you rate an image. If a photo feels uninspiring in the first two seconds, discard it. Saving your energy for standout frames keeps your creative enthusiasm high throughout the entire editing session.
Fix Composition and Perspective First
Cropping sets the visual foundation of every great travel shot. A tilted ocean horizon in Bali or a leaning cathedral in Rome instantly signals amateur work. Open the crop overlay and align crooked lines with the grid before touching any colors.
Also Read: Essential Gear for Travel Photography on a Budget 2026
If tall buildings look like they are falling backward because you shot them from street level, head straight to the geometry panel. Enable automatic lens corrections to eliminate distortion and vignetting caused by wide-angle travel lenses. Use the Upright tool to square vertical architecture lines instantly. Give your subject room to breathe by placing key elements along grid intersections. Trimming distracting edge clutter right away creates a much stronger canvas for tone adjustments.
How to Edit Travel Photos Like a Professional by Balancing Exposure and Contrast
Raw files straight out of modern cameras always look flat and lifeless. Your camera sensor captures massive dynamic range, but it requires deliberate guidance to bring out that depth. Instead of simply cranking up the global contrast slider, build dimension with individual tone controls. Drop the highlights to recover lost cloud texture in bright skies, then raise the shadows to reveal hidden details in foreground architecture.
Hold down the Option or Alt key while dragging your whites and blacks sliders to set a clean dynamic range without clipping. Your whites should hit the brightest edge right before blowing out, while your blacks provide rich grounding without crushing shadow detail. This precise tonal balancing creates punchy depth while preserving every natural highlight across your travel landscape.
Master White Balance to Capture True Atmosphere
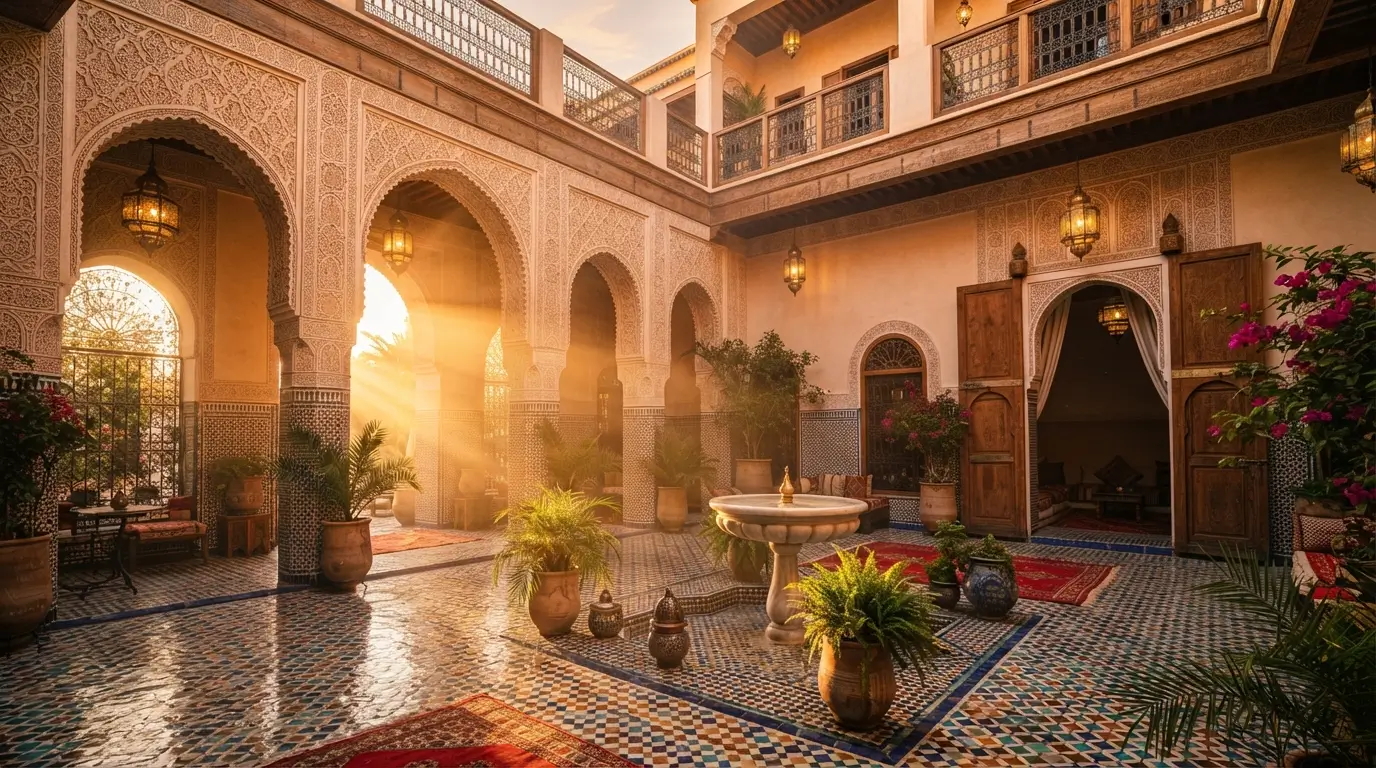
Accurate color temperature preserves the authentic mood of your travel memories. Auto white balance often ruins golden hour light in the desert or turns snowy mountain scenes into muddy yellow messes. Take manual control of the temperature and tint sliders to recreate what your eyes actually witnessed. Push warmth slightly higher for sunset shots over Moroccan riads, but cool down twilight cityscapes to emphasize deep blue hour tones.
Use the eyedropper tool on a neutral gray or white surface, such as a concrete wall or white shirt, to establish an accurate baseline. Adjust the tint slider carefully to remove unwanted magenta or green color casts caused by cheap streetlamps or dense forest canopies. Setting proper color temperature early ensures every subsequent color tweak lands on target.
Refine Color Hues with the HSL Panel
Dedicated color separation turns messy tourist snapshots into polished travel photography. Nothing screams amateur editing quite like neon green grass or radioactive blue skies. The HSL panel gives you pinpoint control over Hue, Saturation, and Luminance for eight individual color channels. Shift your yellow hues slightly toward warm orange to give autumn foliage in Kyoto a rich, cinematic character.
Lower the saturation of intense foliage greens by ten to fifteen points, then drop the luminance of blue skies to make clouds pop naturally. IMO, the secret to mastering how to edit travel photos like a professional rests in luminance control rather than saturation. Boosting luminance on orange channels brightens human skin tones without turning portraits orange, keeping your travel companions looking fresh and natural.
Add Mood and Depth with Local Masking
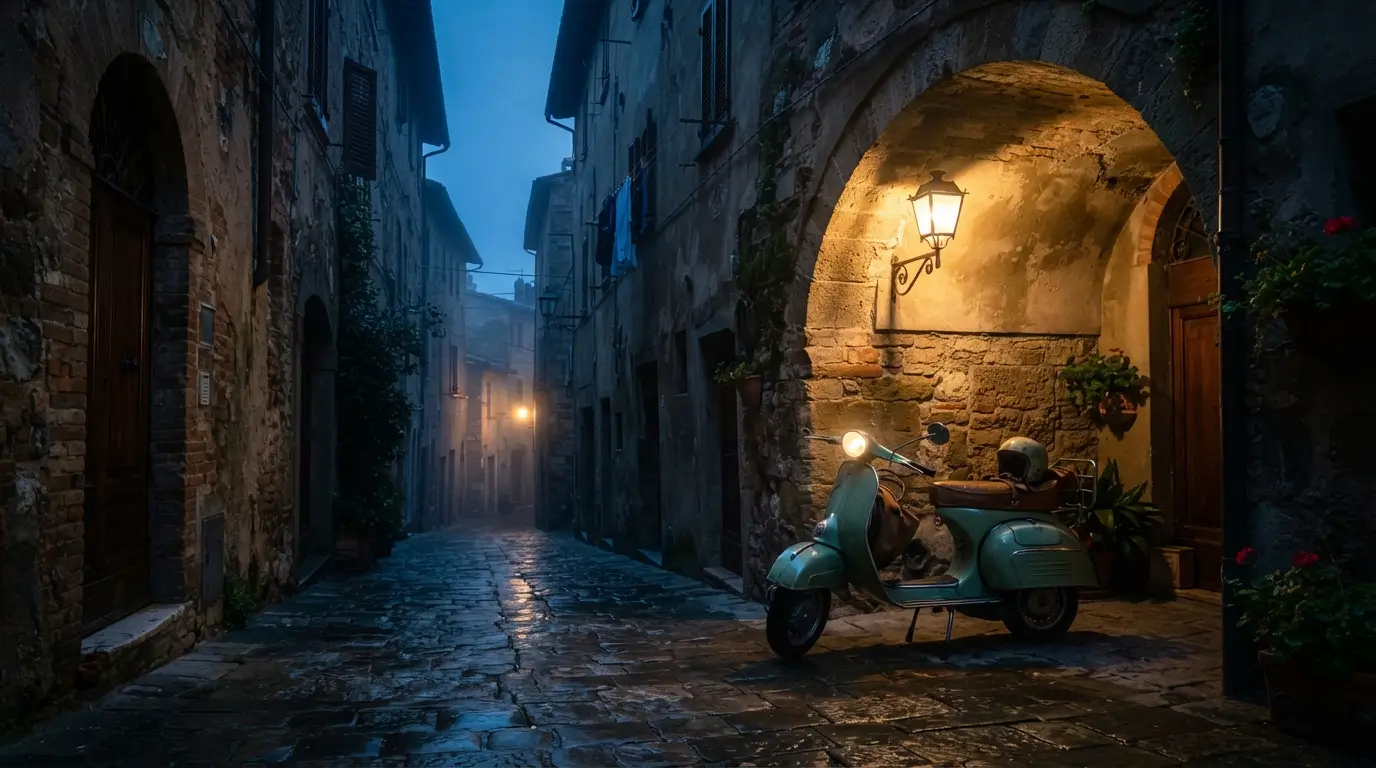
Directing the viewer’s eyes requires targeted light adjustments rather than global changes. Modern masking tools inside Lightroom and Photoshop allow you to shape light exactly like a painter. Apply a linear gradient across a washed-out sky to add subtle darkness and bring out dramatic storm clouds. Drop a soft radial gradient over your main subject, whether an ancient temple doorway or a vintage scooter, and raise the exposure slightly.
Use luminance masking to brighten dimly lit street corners while keeping surrounding shadows deep and moody. Brush warmth onto sunlit patches hitting cobblestone streets to guide the viewer through the scene. These localized adjustments build cinematic three-dimensional depth that pulls viewers directly into your travel journey.
Clean Up Distractions and Unwanted Tourists
Busy destinations inevitably leave your frames cluttered with stray trash, bright exit signs, and crowds. A stunning shot of the Trevi Fountain loses its magic when a bright yellow plastic bag sits right in the foreground. Professional travel photographers clean up distracting elements so viewers focus entirely on the subject. Modern AI-powered healing brushes make this cleanup fast and seamless.
Zoom in to one hundred percent and scan the edges of your frame for photobombers, power lines, and bright spots that draw the eye away. Use the content-aware healing tool with a soft brush edge to blend removed items into surrounding stone or sky textures. Remove only the unnatural clutter that hurts composition while leaving authentic cultural elements intact.
Apply Subtle Sharpening and Noise Reduction
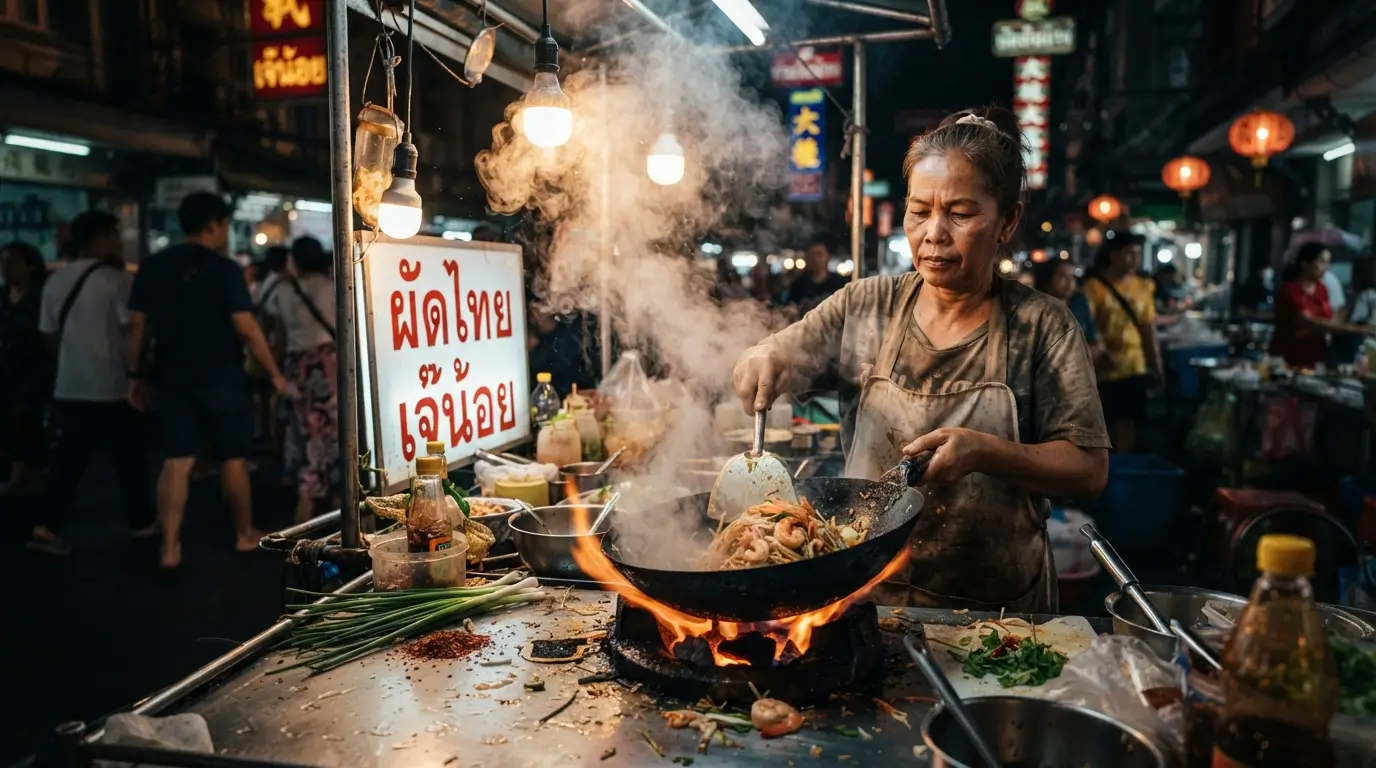
High-ISO grain and soft focus quickly degrade the visual impact of low-light travel captures. Shooting bustling night markets in Bangkok or dimly lit tapas bars in Madrid often forces you to push camera sensors to high ISO levels. Balance clarity and smoothness by pairing subtle noise reduction with targeted edge sharpening. Push the luminance noise reduction slider just enough to smooth grain without turning faces into plastic wax.
Hold Alt or Option while dragging the sharpening mask slider to apply sharpness exclusively to hard edges and textures. This prevents crunchy artifacts from invading smooth skies or water surfaces. Understanding how to edit travel photos like a professional means knowing when to stop, keeping textures crisp and natural rather than over-processed.
Export Correctly for Social Media and Print
Poor export settings can instantly ruin hours of careful editing work. Uploading an uncompressed file to Instagram or web galleries triggers aggressive compression algorithms that destroy fine details and shift colors. Convert your finished files to the standard sRGB color space before sharing online. This prevents your rich colors from looking washed out or overly saturated on different phone screens.
Resize your images to match their intended destination, setting the long edge to 2160 pixels for crisp mobile viewing. For physical prints, export at maximum resolution with 300 DPI in the Adobe RGB color space. Applying a tiny dose of output sharpening for screens ensures your travel shots look razor-sharp on every digital display.
Frequently Asked Questions
Which editing software is best for travel photography?
Adobe Lightroom Classic remains the gold standard for travel photographers because of its incredible file organization and fast raw processing. Capture One offers superior color control for studio and landscape shooters. For mobile editing on the go, Lightroom Mobile and Snapseed deliver impressive power directly on your smartphone.
Should I edit travel photos on my phone or a laptop?
A laptop with a color-calibrated screen gives you precise color accuracy, larger previews, and access to advanced masking tools for big projects. However, editing on a tablet or phone works great for quick social posts while traveling. For portfolio work or prints, always do final adjustments on a calibrated computer screen.
What is the biggest mistake beginners make when editing travel shots?
Over-saturating colors and over-sharpening are the most common pitfalls for beginners. Pushing clarity, vibrance, and saturation sliders too far creates unnatural, cartoonish results that cheapen your images. Aim for subtle adjustments that enhance reality rather than distort it. Rest your eyes for five minutes before exporting to catch over-edited elements.
Does shooting in RAW really matter for learning how to edit travel photos like a professional?
Shooting in RAW captures uncompressed sensor data, giving you maximum flexibility to recover blown highlights, open deep shadows, and correct white balance without degrading quality. Standard JPEG files bake in camera settings and discard vital data, making heavy editing impossible. RAW files are essential for professional results every single time.
How do I keep my travel photo edits looking consistent across an entire trip?
Create custom presets based on your core color grading style for a specific location. Apply that preset to a batch of similar lighting shots, then manually adjust exposure and white balance for individual variations. Syncing your baseline adjustments across scenes maintains a cohesive aesthetic across your entire travel gallery.
Conclusion
Editing travel photos should feel like reliving your favorite journeys rather than doing technical chores. Practice these techniques on your recent vacation shots, trust your own creative vision, and let your unique visual style develop naturally. Which destination in your photo catalog are you excited to edit first?
One comment on “How to Edit Travel Photos Like a Professional 2026”